Setting Up Document Types in Umbraco
This article is outdated and while some concepts may apply, the code samples may not work.
When you are getting started with Umbraco, inevitably you will have to setup your DocTypes. Setting these up properly will help you keep your site organized and manageable as your site grows. DocTypes are powerful tools in Umbraco that are completely customizable to the data you need on your website.
The Design
The initial concept of what data you need in your website will begin with the design. Some designers may just take a website and run with it, not envisioning how the design is actually going to work when it is built out. The idea behind my Umbraco process for setup begins with the website design itself. During the design I keep in mind how Umbraco works so I can combine a nice experience with the least amount of work for the end user maintaining the website.
The Setup
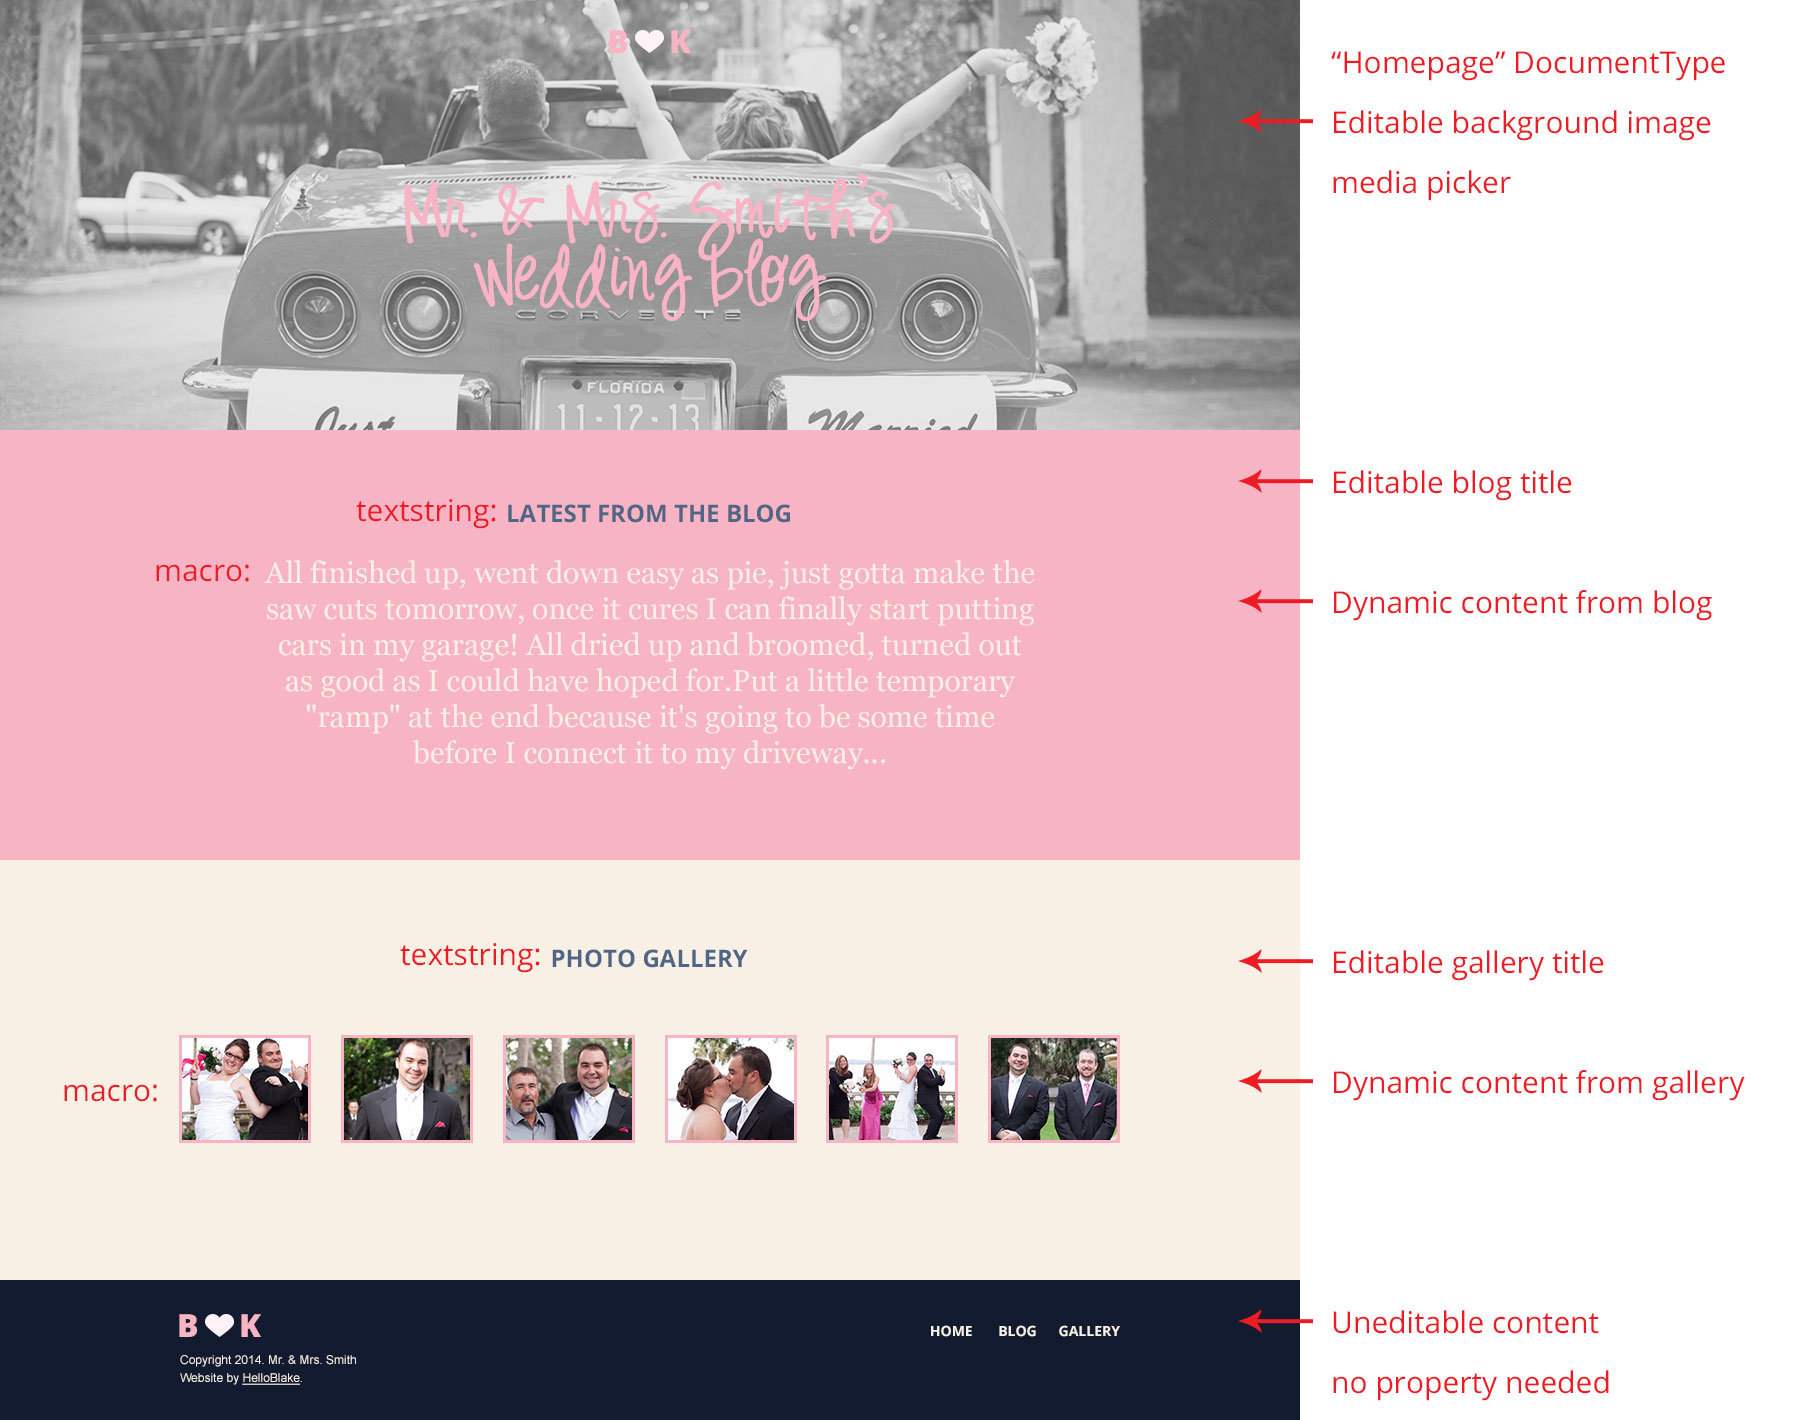
Here is the re-design of my wedding website.

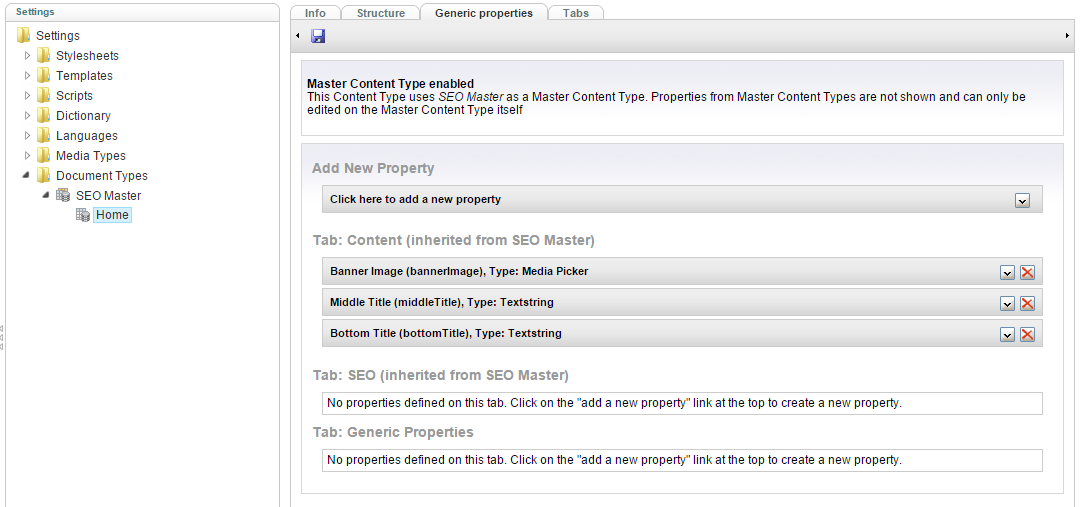
The homepage was designed with Bootstrap’s 12 column grid in Photoshop. I took the homepage design and divided it up to figure out what I wanted to be editable for this particular “Homepage” DocumentType. The design is really simple so there isn’t going to be much editable content on the homepage of this website. Looking at the design we can determine that the properties on this document type are:
- Media Picker for the background image
- Textstring for the blog section title
- Textstring for the gallery section title
The rest of the content is dynamic, which a macro can be used for. Familiarizing yourself with the different DataTypes in Umbraco will help you to figure out what properties you will need to use. The footer section of the design has a dynamic navigation and static content footer that will be incorporated into the Master template since it is the same on every page throughout the site.
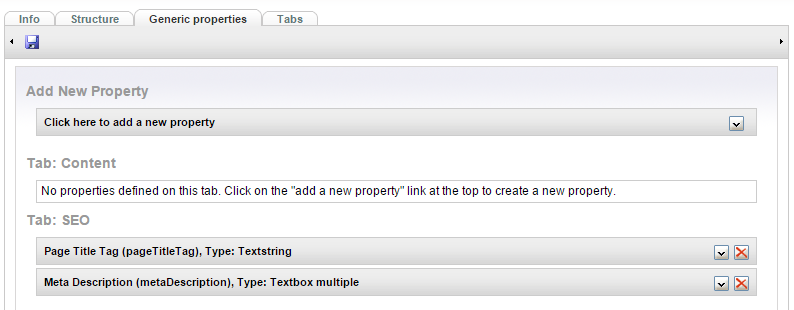
Now that we know what properties are needed, let’s set up our document type in Umbraco. Head over to the Settings section and right click on Document Types and name your new document type. You can choose whether to create a matching template or not and choose a master document type. First we are going to setup a Master document type without a template or master. From my experience with Umbraco it has worked best to setup a master document type that contains a “Content” and an “SEO” tab.

The content tab is left blank so that any document types that are children of the master will inherit this tab and you can put the page’s content properties on that tab. For basic purposes it’s best to setup a page title tag and meta description fields on your SEO tab.

Once you have your master document type setup with the general properties that all pages will inherit, it’s time to make our custom Homepage DocumentType. Make sure that when you create your new document type that it is a child of the Master DocumentType. Doing so will make sure that your properties on the master are inherited by the new document type.
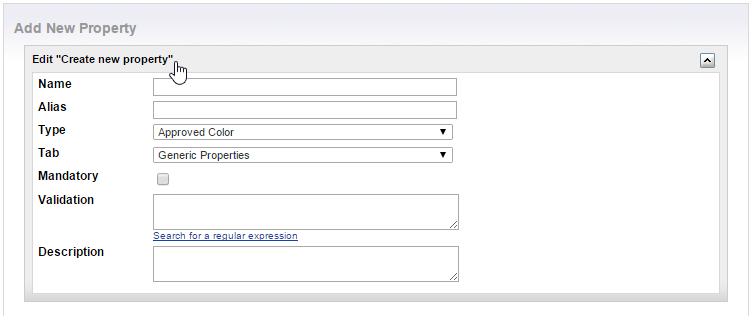
To create a new property on your document type, click “Click here to add a new property”.

When creating your new property there are a few things that you need to fill out including:
- Name – try to use something that obviously states what the field is to be used for.
- Alias – this will auto populate once you name your field. Camel casing is required. You will use this alias to reference this field in your templates and macroscripts.
- Type – this is where you pick the datatype that you want this field to be. Datatypes are built into Umbraco.
- Tab – use the drop down to select which tab you want this new property to appear on.
- Mandatory (optional) – you can mark this field as required so that the document won’t publish unless this field is completed.
- Validation (optional) – use a regular expression to validate the input of this field.
- Description (optional) – use this to write a description about this field. The description will appear below the label in Umbraco on the node.
Once you have your properties added to your document type, double check that you have saved your changes.

Since this is the homepage we don’t need to bother checking any options on the structure tab (version 4).
In version 7 you will have the checkbox available that allows this node at the root level. To keep things simple for your webmasters, check this box for only the nodes you wish to have at the root level, typically this will only be your homepage.
The structure tab is where you select which document types will be allowed to be children of the selected document type. For example, after the homepage document type is created we would need to setup our textpage document type. The homepage would need to allow the textpage document type on this structure tab before you can create a textpage underneath the homepage in the Content section.
The info tab is where you can choose basic information for your new document type. The Name and alias are setup automatically when you create a new document type in Umbraco and give it a name. The Icon and Thumbnail (version 4) drop down lists are available to select your image for when you create a new document in the Content section. The icon will appear in the tree next to your new website content.
In version 7 you have the Icon that you can select for your content but no thumbnail is required.
Tip: If you want to add your own custom icons for Umbraco version 4 you can upload your images into the umbraco/images/umbraco or umbraco/images/thumbnails folders in order to use your new icons from the drop down menus. The umbraco folder contains the small icons and the thumbnails is where you would put your larger thumbnail images that correspond with your new icons. The thumbnail image is only shown at the time of creating a new document type in Umbraco.
The description of your document type will appear when you create a new document in the Content section. Allowed Templates lets you assign templates to be used with this document type. Just know that your template will need to correspond to the data on your document type. You can also select the default template to be used with this new document type (if you have multiple allowed templates).
Once you have your document type customized and setup it’s time to create it in the content section. In our case we are set to go but if you have other document types you are trying to make in the Content section and don’t see them in your list when you right click and hit Create, then go back to the Settings section and check the Allowed Child Node Types in the structure tab to make sure you have permission to make your new document.
Try to keep your document types organized and not overly complicated for your users who are going to be managing the site. Remember to use the descriptions for your properties if you need to since this can help improve your users experience when managing content in Umbraco.
How do you setup your DocumentTypes? Do you have any tips to share in the comments below? I’d love to hear!