Setting Up Umbraco Locally
This article is outdated and while some concepts may apply, the code samples may not work.
There are a lot of ways to setup Umbraco locally. This is a step-by-step on setting up a database in SQL Server Management Studio and configuring Umbraco to run locally. Here is what you will need to get started:
- Umbraco Version Zip Files
- Microsoft Visual Studio
- SQL Server Management Studio
I am going to assume you have these programs installed and have downloaded the required files needed for Umbraco. These instructions will be using Visual Studio 2015 on Windows 10 with SQL Server 2014 Management Studio.
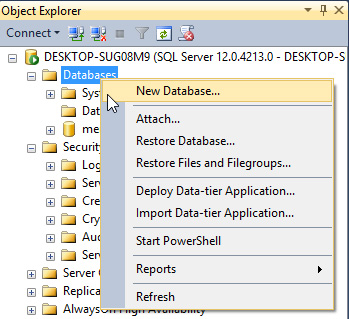
First let’s create our database that we will need for our site. Open SQL Server Management Studio and right click on Databases.
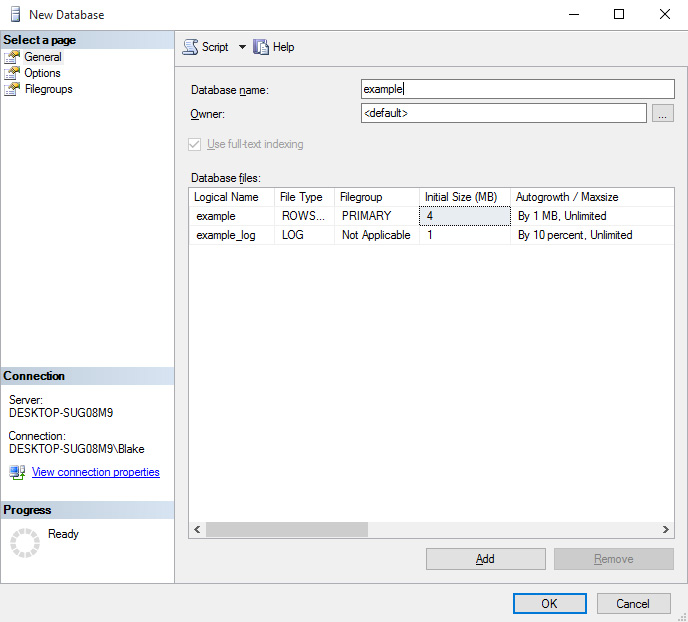
Name your database in the Database name field. In this case I’ll use example. Click Okay.
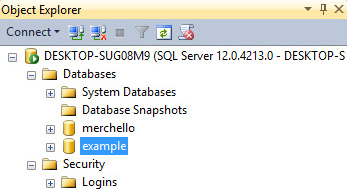
You will notice that the new database will show up in your Databases folder in the Object Explorer.
In the Security > Logins section of Management Studio, create a new user by right clicking on Logins and clicking New Login.
Type in your new login name in the Login name field, click SQL Server authentication, and uncheck Enforce password policy. Type in your password in the Password field and confirm it. For Default database, select your database that you just created.
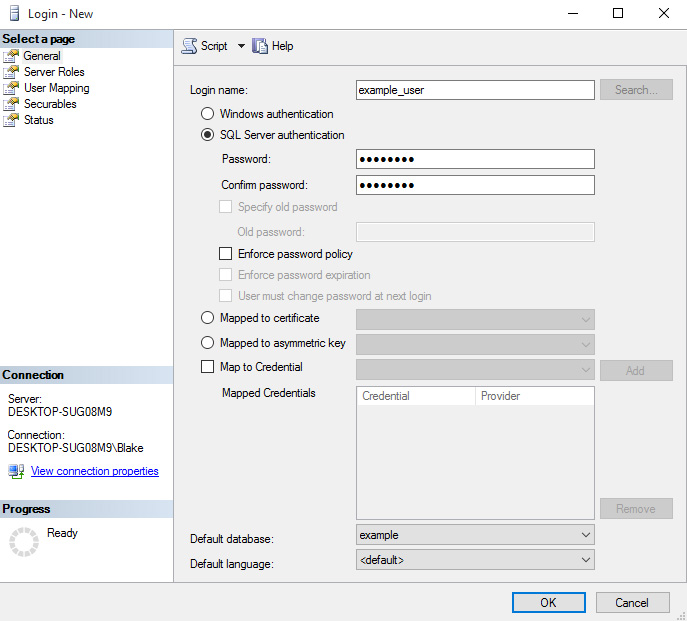
Remember your credentials! You are going to need these when we setup Umbraco later. Click OK when you are finished.
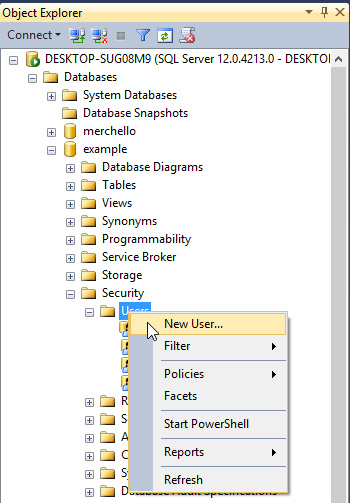
Let’s go back to your database in Management Studio and go to Security > Users. Right click on Users and select New User…

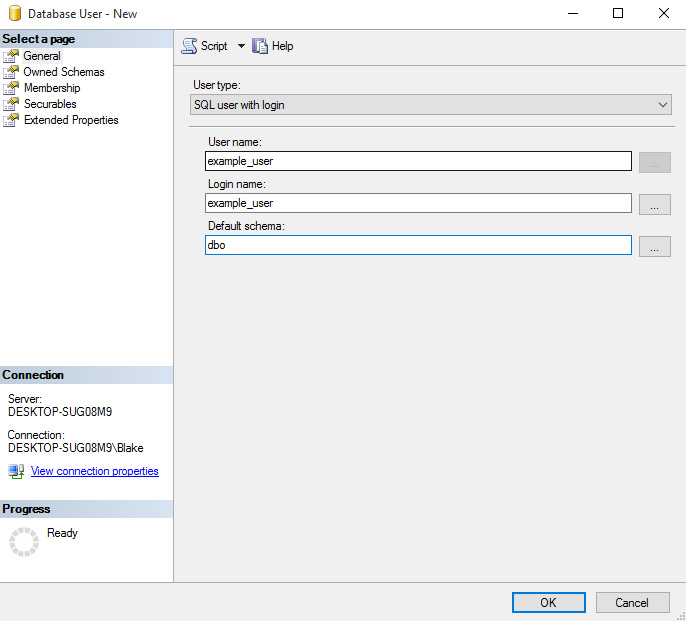
Enter your username in both User name and Login name fields. In my case, I’ll use example_user. Enter dbo in the Default Schema field.
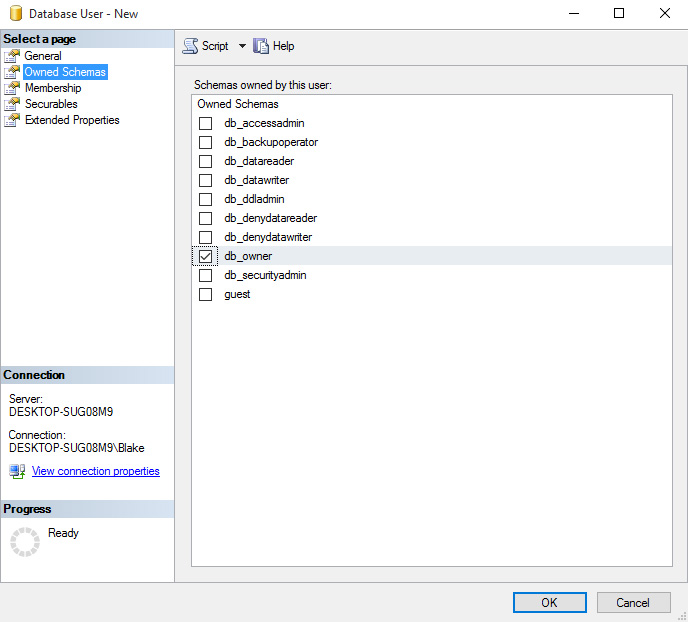
In Owned Schemas, select the db_owner schema.
In Membership select db_owner as the role.
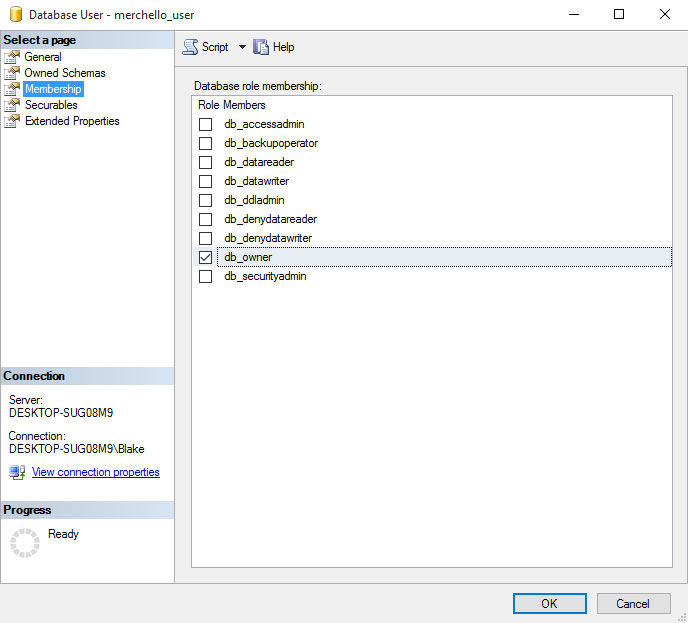
Click OK once you have these settings configured.
We are done with Management studio for now, let’s extract our Umbraco CMS files where we would like to have our site. I use the default Projects folder that Visual Studio creates so I am going to extract my Umbraco.CMS.7.2.8 zip into my C:/Documents/Visual Studio 2015/Projects/example folder.
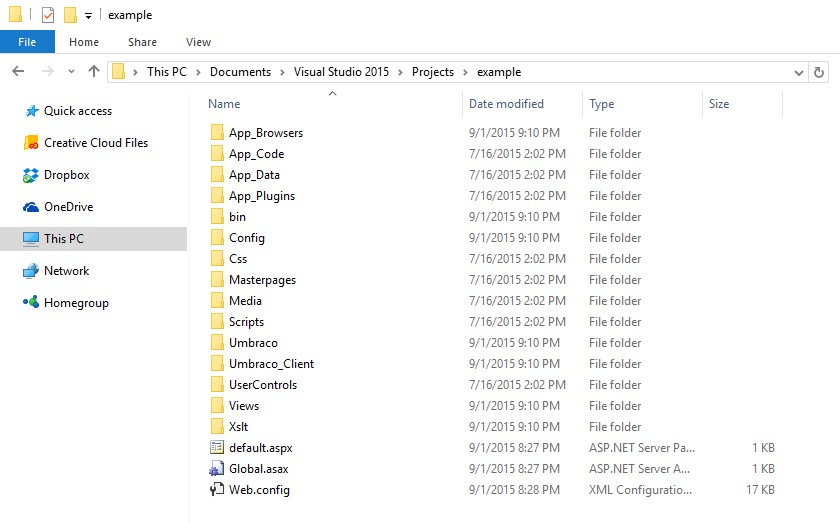
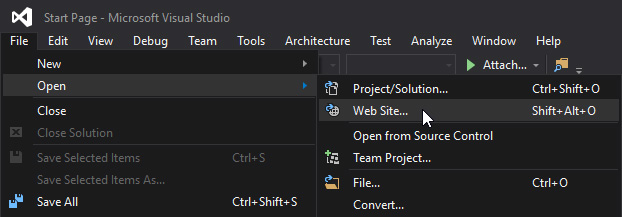
With my files extracted open up Visual Studio and go to File > Open > Web Site.
Navigate to the folder where you extracted your Umbraco files and select the folder. In my case I am selecting example.
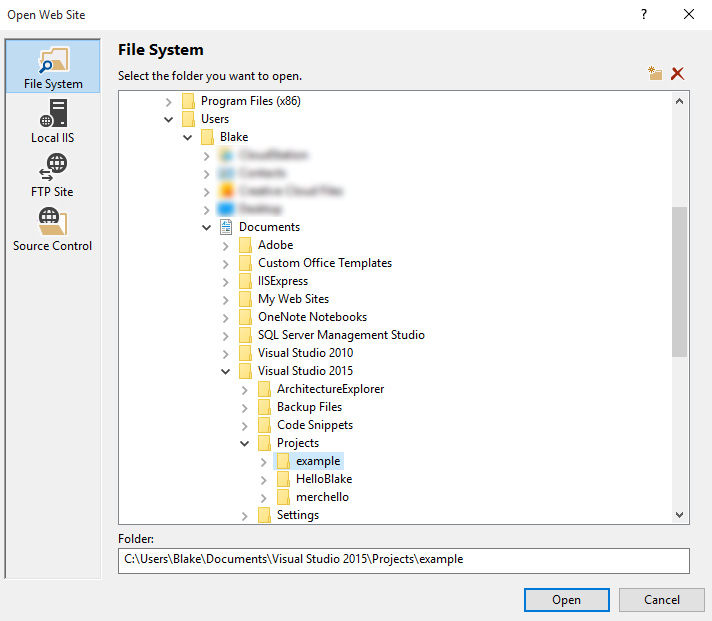
Click Open and Visual Studio will load your website. Start debugging your website by either hitting F5, or the play icon in the toolbar.

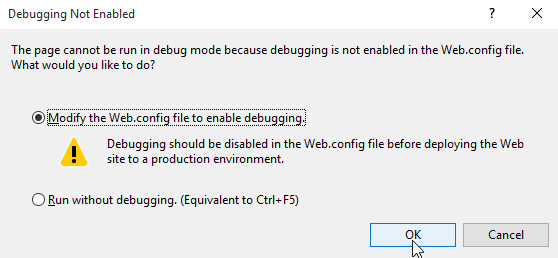
Visual Studio will take a moment to build your website and it will open in the browser. You may be prompted to Modify your web config file to enable debugging, click Okay.
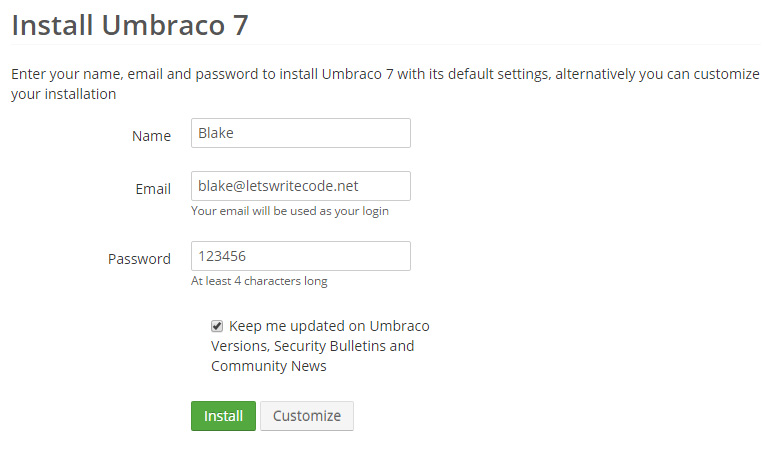
When it is finished you will be presented with the Umbraco install screen. Enter your name, email and password. Check or Uncheck the news checkbox, this is your preference, and click the Customize button.
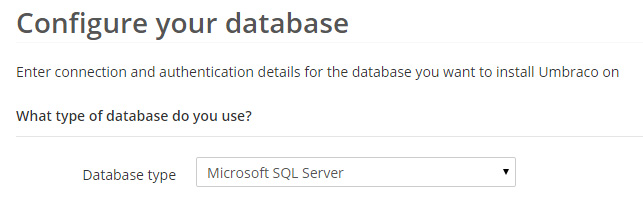
Next we are going to configure our database. Select Microsoft SQL Server from the Database type drop down list.
We are now presented with our options to configure our database. Here we need to enter our Server name, Database name, database Login and Password. This is where you will need your credentials that you setup earlier.
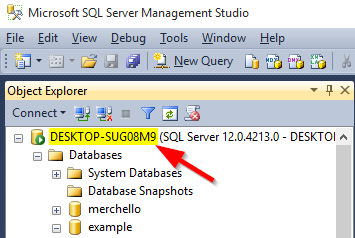
For my example I am going to enter my server name, which you can find in Management Studio or by typing in the command prompt window SQLCMD –L to get your database name. This is something that you would have setup when you installed Management Studio.
Management Studio:
CMD Prompt:

My Database name was example so I am going to enter that in the Database name field. My user was example_user so I am putting that in the Login field and entering the password I created for this user into the Password field.
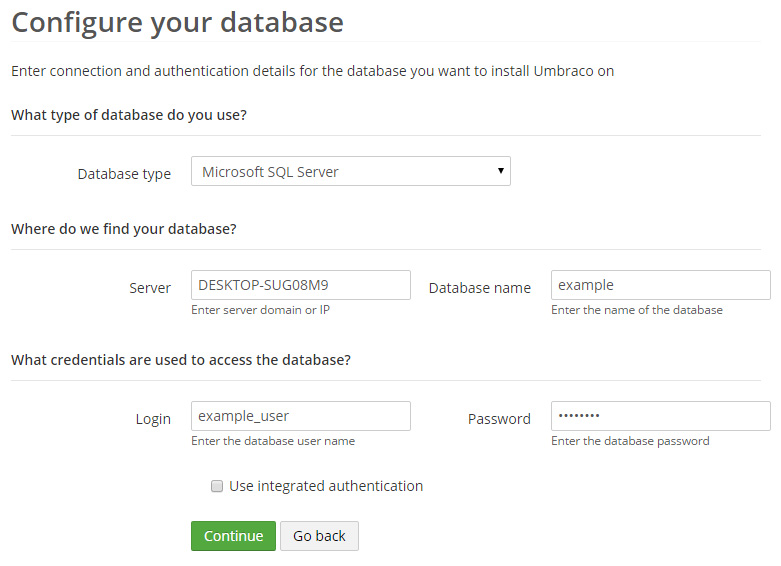
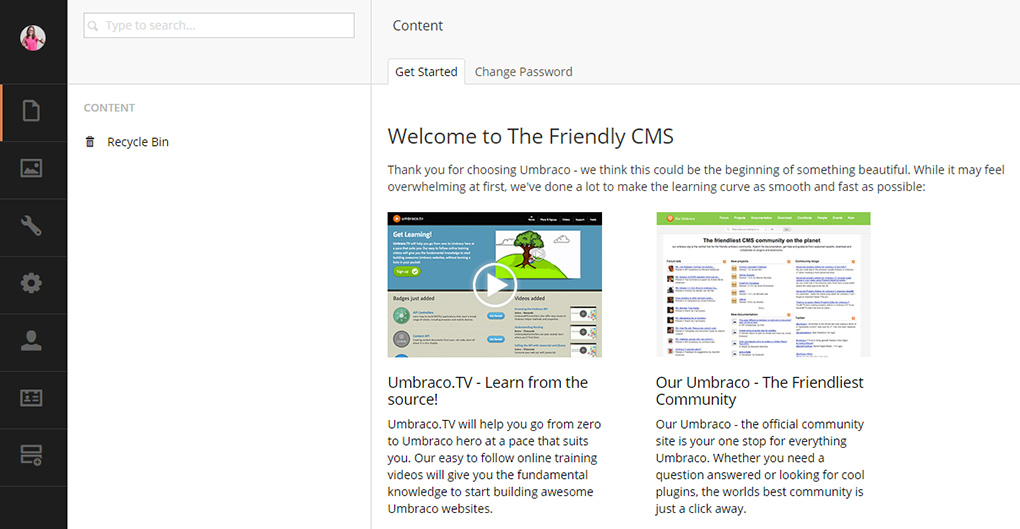
Once you have filled out all the information, click Continue. If your information was correct Umbraco will display a Install a starter website prompt. You can chose to either install a starter website or click No thanks. Once Umbraco finishes setting up your website you will be taken straight into the back office. This is where the fun begins!
